Struggling to get the linework you want?
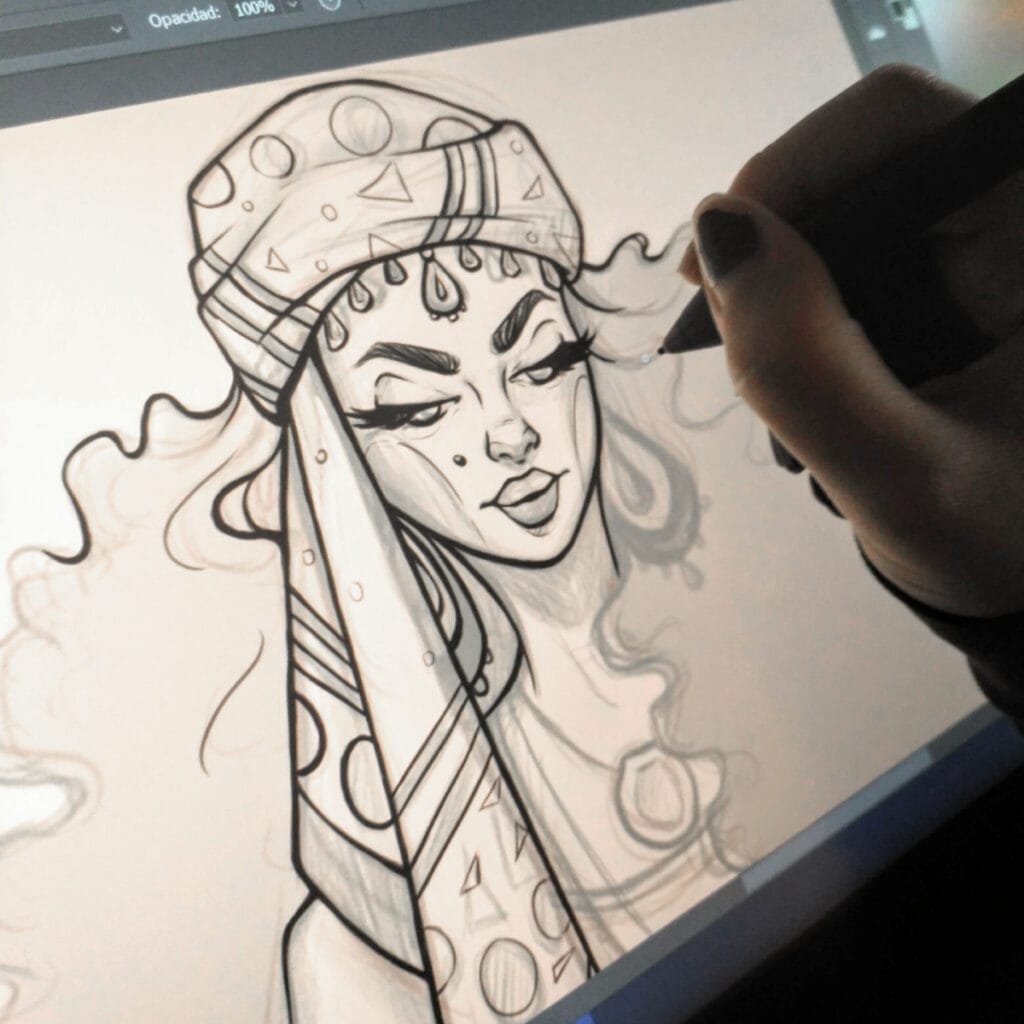
I bet you saw those amazing straight and perfectly line weighted lines and you thought digital linework would be easy.
Some artists make linework look easy, I know the frustration.
I learned in no time that digital can be as challenging as traditional. And even more if you have little to none drawing experience. Even when I didn’t expect it to be an easy and quick path, it took me longer than I thought to be able to do linework even similar to what I did with traditional.
There’s a lot to it, and there
And that it’s what I’m gonna be talking in this post. Things I would do differently & the tips I wish I knew when starting with digital. – some general but most linework related.
*Reminder that this post contains some affiliate links. This means I might get a small commission when you click and buy something with that link with no additional cost to you. However, my reviews and recommended products are not influenced by this, I’ll only recommend what I use and what I believe is good. Click here to read the disclaimer if you want more information*
1. LEARN FIRST IN TRADITIONAL
Well – no one likes to hear this but hear me out here – it’s usually easier if you start out with traditional and then transition to digital.
Most professional digital artists would confirm this.
Relying on ctrl+z – undo button, stabilisers, filters and such doesn’t help when you’re starting out.
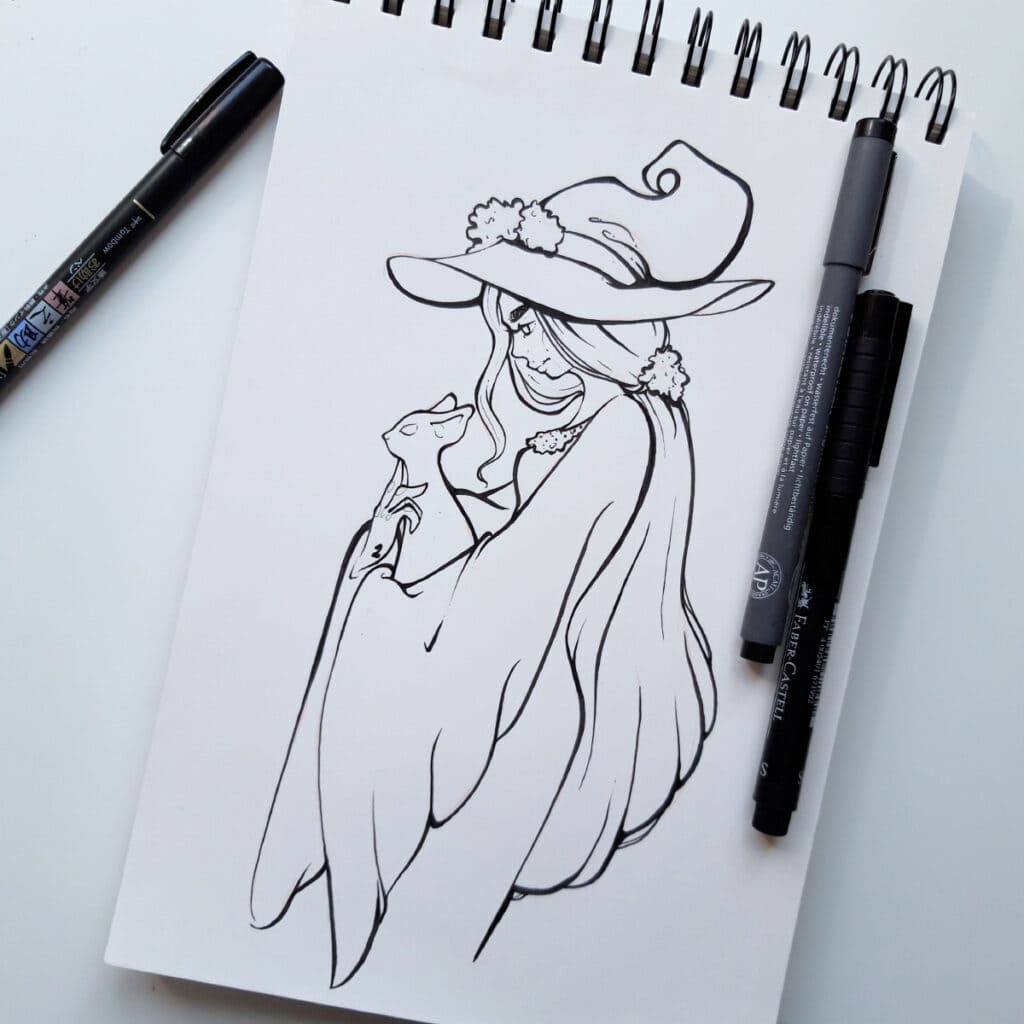
I find that especially with linework it helps to start with fine liners, brush pens and such. There’s a lot of tricks and control to learn from them.
And not having an undo button would help you learn from the mistakes and not rely so much on it later.
For example, this brush pen I talk about is a good and cheap option to start training your linework.
This is not to say that you can’t start with digital, I just believe that there are certain “commodities” of digital art that don’t help beginners learn and improve.
There’s also too many tools & things to learn that sometimes distract & overwhelm them.
2. AVOID THE MOUSE
Really. I don’t think I even need to say this.
Please avoid at all costs working with the mouse.
I know that most of us can’t afford an expensive drawing tablet, but there’s a good number of cheaper alternatives that are really good to start and get the feeling of it.
It’s worth saving up a bit for it, I assure you.
The mouse is not only terrible to do linework – or digital art in general – but it’s also really bad for the health of your hand.
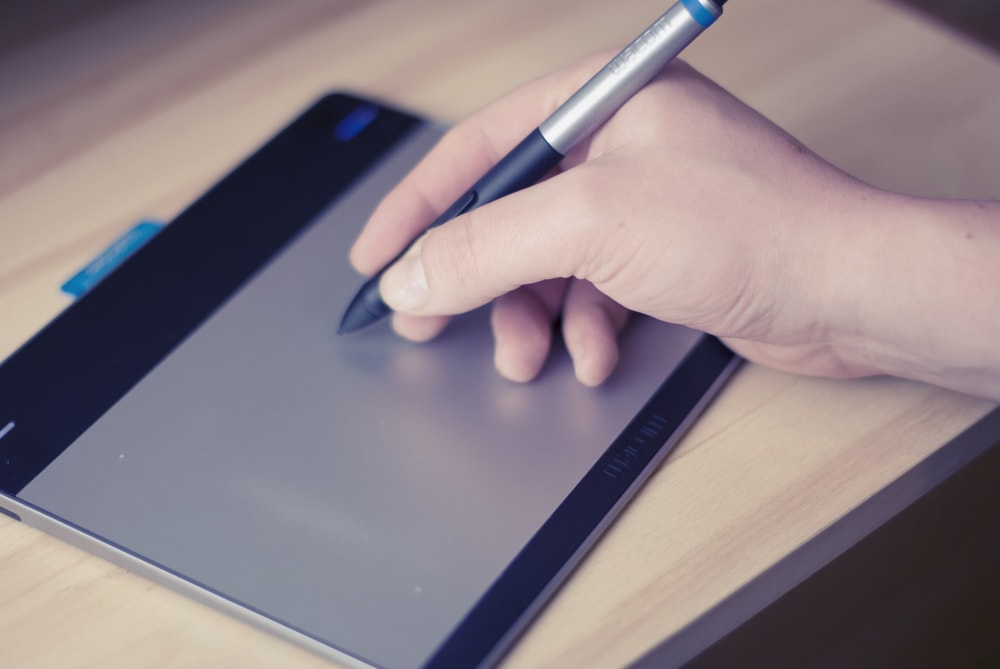
There are options under 100$ like the Wacom Intuos tablet, a bit more expensive than other less known brands but Wacom is really known and trusted between artists.
I went for an Intuos Pen & Touch 4 years ago – when it was a bit more expensive – and I still have it, works perfectly. I’ve heard people that had these tablets for more than 8-9 years and they still work.
Huion is also making a name for itself lately. But you should know there’s really no need for a draw on-screen tablet when you’re starting. It’s a matter of preference, but you get used to it.
I’ve updated mine to the newest Wacom cheaper screen tablet alternative a few months ago if you want more info about it, I have a post here: Wacom Cintiq 16 review.
I have a few more reviews on different tablets on the blog that might help you with choosing the one for you:
- Artist 13.3 Pro Christmas Edition by XP-Pen – Unboxing & Review.
- Deco Mini 7 Anniversary Edition – Unboxing & Review. (This tablet is less than 40$!)
- Reviewing the Artist 12 Pro by XP-Pen.
So, explore your options, it’s worth it a little investment.
3. BE PATIENT
Thinking that you’ll be amazing in a couple of weeks or even a month is crazy. Unless you work on it for 10 hours every day, in that case, it might be possible.
I mean, It’s impossible in digital art and in everything else.
But I feel like digital art is such a change of pace that you have to give yourself some time to adapt.
For the first two years, I dabbled on it and felt frustrated because of how uncomfortable I was with digital art. Getting used to the different software, brushes, all the possibilities, filters, drawing while not looking at the tablet – non-screen tablets are great, but it takes a little time to get used to that – and so on…
The problem was that I thought it would be an easy and really fast process.
At the end of 2017 / beginning of 2018 – after taking a digital break and also experimenting with procreate – I decided I would dedicate the next year to patiently include digital in my routine and I wasn’t going to expect a miracle.
Surprisingly to me I improved a lot. Not only during that year but I could see progress within 3-4 months.
Considering that I already passed a lot of stages that I’m gonna talk about here – like selecting my software – so the only thing that was left was to give it time and make it a habit.
4. CHOOSE THE RIGHT SOFTWARE
This is an important first step.
You should give yourself some time to try different painting programs and decide which one is the one for you. But all of them – even the simplest one – requires some learning curve and getting used to.
For me, I tried a lot but I kept coming back to Photoshop. It was harder to get used to, but I felt it was worth the effort.
Paint tool Sai, Krita, Clip studio Paint are other options that I tried. The first is good for starting but I felt it wasn’t very professional.
Clip Studio Paint is quite an investment too, though you have a free 1-month trial to give it a try. I honestly think is a really good program especially for linework, comics and manga, though I didn’t get comfortable enough with it.
Krita is the one I give a try from time to time, though I still use mostly Photoshop. It’s a good option, cause it’s free and seems quite professional.
Feel free to check my comparison and first thoughts in the following video or in the blog post here.
So, in the beginning, give yourself some options to try and stick to one for some time – with the one you feel most comfortable with.
You always have time to adapt to new software if the one you have starts to feel limited. Cause they have a lot of similarities.
5. EXPERIMENT WITH BRUSHES & SETTINGS
For me, this was a lifesaver. In the beginning, I used default brushes and I didn’t like the result.
Not at all.
And they felt uncomfortable, again, especially for linework.
I’m not saying you can’t use them, but also try to download some brush packs to have a feel of what drawing can be with other tools.
There are literally tons, for free or really cheap out there.
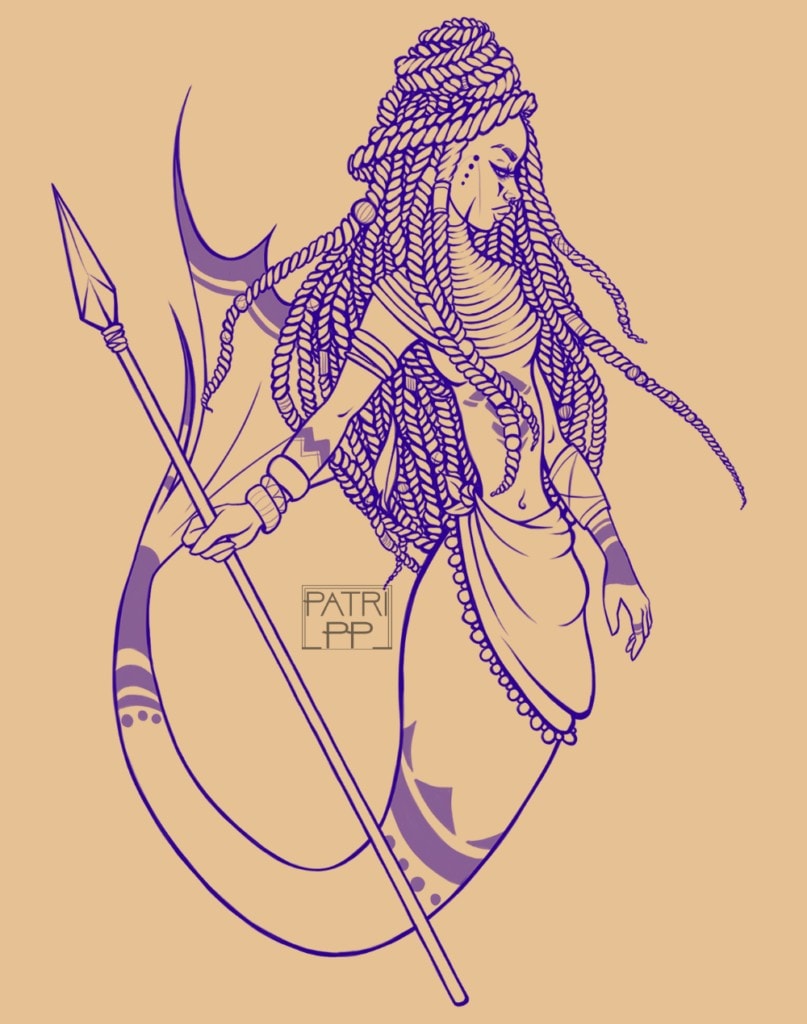
Everyone has its preferences here but for me, the one I use the most is Danica Sills pack, and I keep coming back. Loish brushes are really great too.
The best part is, they’re both free and the packs are small enough so you don’t feel overwhelmed. – Btw, there both for Photoshop.
Maybe try to check for the brushes your favourite artist use. This won’t make you suddenly draw like them – like some people seem to think – but it helped me avoid download too many brush packs for nothing.
Also, I know I just said try brushes and find what you feel most comfortable with, but beware!
Brush pack downloading can be addicting! You might end up with 30 brushbacks and have no idea where to start.
I know I have…
I recommend downloading one or a couple, trying them out for a while and then repeat.
It’s also good – though you keep your trusted brush pack on hand – to switch it a bit from time to time and try something new. To give some variety to your workflow.
6. LINE WEIGHT
Oh, line weight, such a pain at the beginning.
Line weight is one of the most important things if you want to make your linework work.
But it can be challenging and even more in digital.
Here’s a little tip from working with fine-liners in traditional – where you’re not really able to change the line weight too much with pressure – it’s alright to go over your lines to give it some extra thickness.
Maybe some people would advise against it, but I’ve always done it and I think my lines still look pretty crisp.
Especially with digital, where you can always undo it if you go overboard.
On top of it, it takes some pressure off when you work to get the perfect line, making linework way less stressful.
7. WORK MOSTLY WITHOUT ZOOM
This one took me some time to get used to. And it’s particularly hard if you have a small screen or a laptop as I did.
But it’s much easier to make a stable good-looking line in a small space and movement – zoomed out screen – than in a big one.
This somehow has to do with that big thing in drawing that says “Draw with your elbow and shoulder, not with your wrist”.
Now that I have also a big screen on my desk computer I understand how other people seem to work zoomed out so much.
But don’t despair, there are also some tricks if you have a small screen.
Start out by getting used to doing rough sketches from farther away.
Once you get comfortable with this the next bit would be easier.
First, forget focusing on doing small details from afar, most people can’t do it either so don’t frustrate yourself over that. Everyone I’ve seen seems to zoom in for the faces for example, or in my case with the hands too.
This is mainly because they require small-precise lines. And these I will go over if I need to.
For fast long-lines, I would zoom out and try not to retouch them too much. This works well to give movement to the hair, clothes, etc.
Experiment a bit with it, I assure you is not as hard as it seems.
Last but not least, I wanted to link to a Danica Sills YouTube video where she goes over some tricks for digital art that are quite specific and might help you continue with your lineart practice.
Let me know how your linework practice goes. Good luck!

