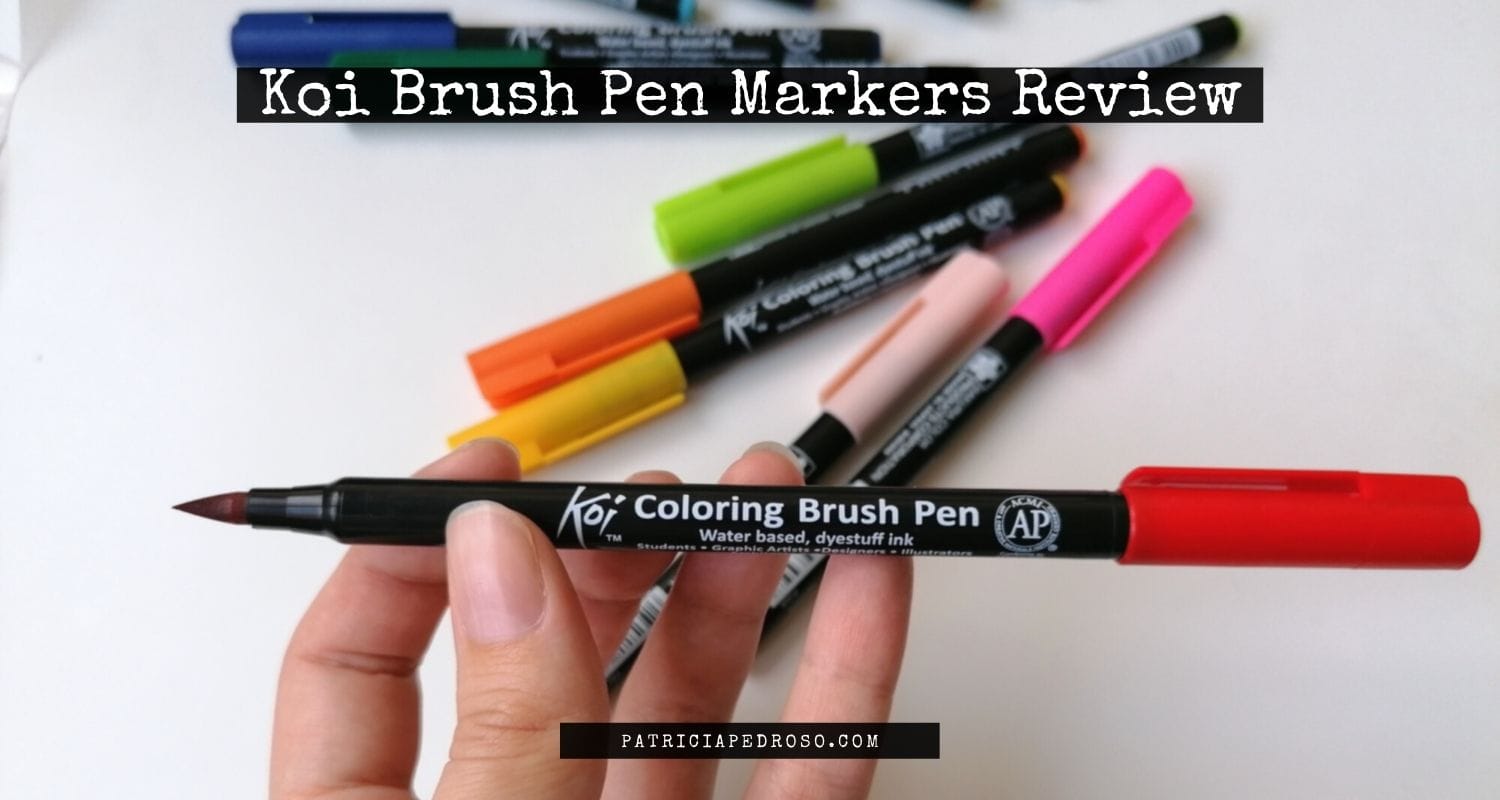
What’s better: Water Markers or Alcohol Markers?
I went into my local art store the other day and the owner let me know they had these new couple of things from the “Sakura Koi” line – basically, their watercolour travel set & their 12-set Water Brush Markers.
Now, as cute as that watercolour set was, from what I know, the Koi watercolours are quite similar to the Kuretake Gansai Tambi (that I already have – the 36 set – & adore) in the saturation of their colours & composition. After all, they’re both Japanese watercolours.
But we’re not here to talk watercolours – even tho I probably could, cause I love ‘em…
Oh, wait, I have a full blog series about them here! – If you’re interested
So, my point is, I didn’t want to get an extra set of watercolours, but I never tried water-based markers before!
Obviously, from the tittle you already know I got them, and I thought I’ll review them for you as well as making a comparison with alcohol markers while I’m at it!
Let’s get to it!
*Reminder that this post contains some affiliate links. This means I might get a small commission when you click and buy something with that link with no additional cost to you. However, my reviews and recommended products are not influenced by this, I’ll only recommend what I use and what I believe is good. Click here to read the disclaimer if you want more information*
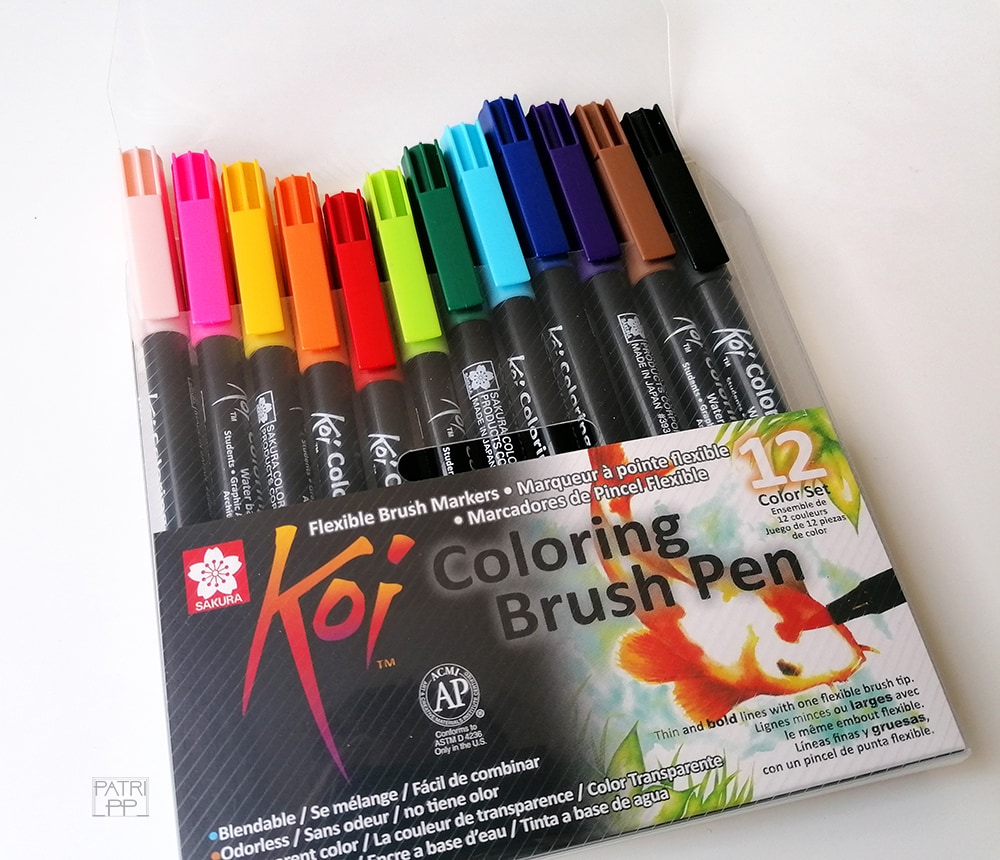
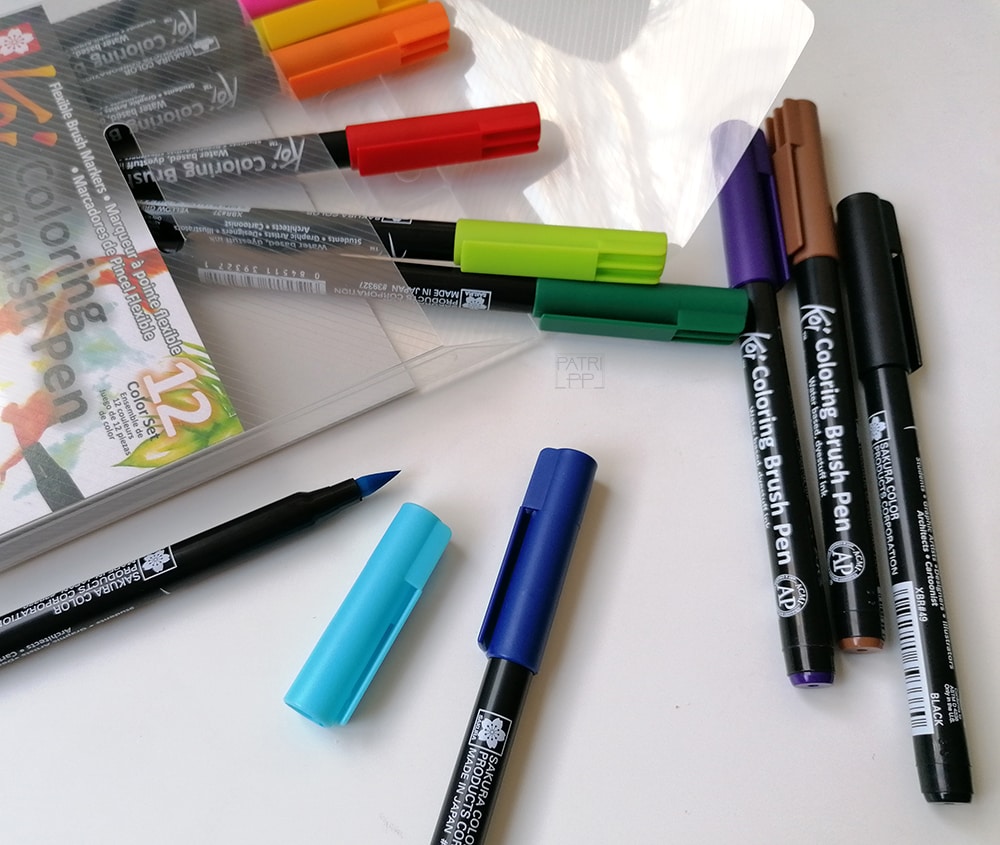
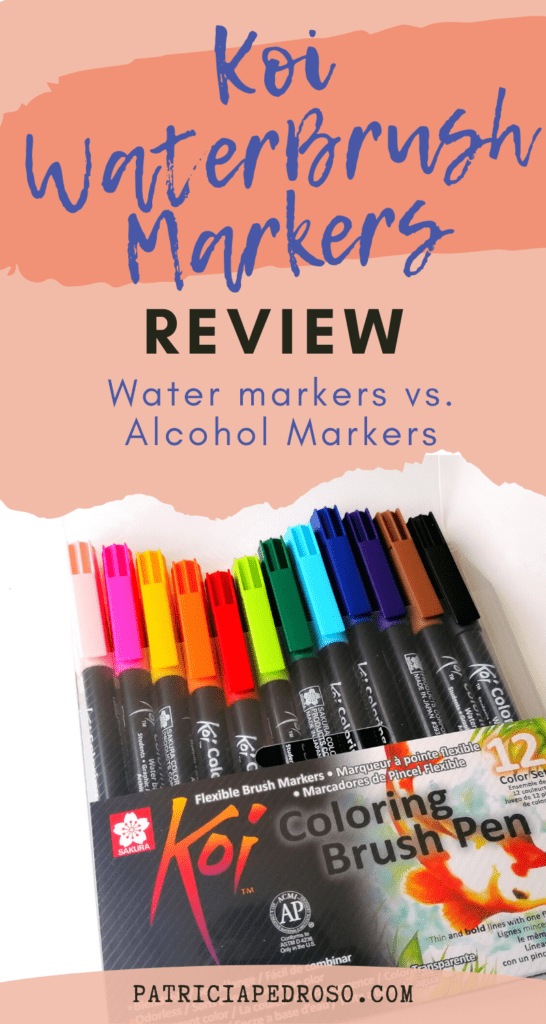
The Koi Water Brush Markers set I got:
This is the cute 12-set Water Brush Markers that I got:
Of course, there are bigger sets available, the 24-set & 48-set are available on Amazon (and probably others as well).
Probably the 24-set it’s a good investment if you’re planning on illustrating with these, a good middle point.
However, the 12-set it’s not too bad either, has a bit of everything – every colour you can expect in a 12 set, really – and it was versatile enough to entertain me!
About the Markers
I did a few swatches in my sketchbook and took some notes of their behaviour.
One of the first things that I noticed was the absence of smell.
Nothing, at all.
If you’ve ever worked with markers (even school-level ones) you know how they smell.
Now, don’t get me wrong, I wasn’t particularly bothered with the alcohol smell of alcohol markers, but sometimes, when you were painting layer after layer with your face right on top of the paper, it could get a bit much.
Especially if you’re a bit prone to headaches like me…
Apart from that, I liked the shape of the tip a lot and the colours were nice & bright.
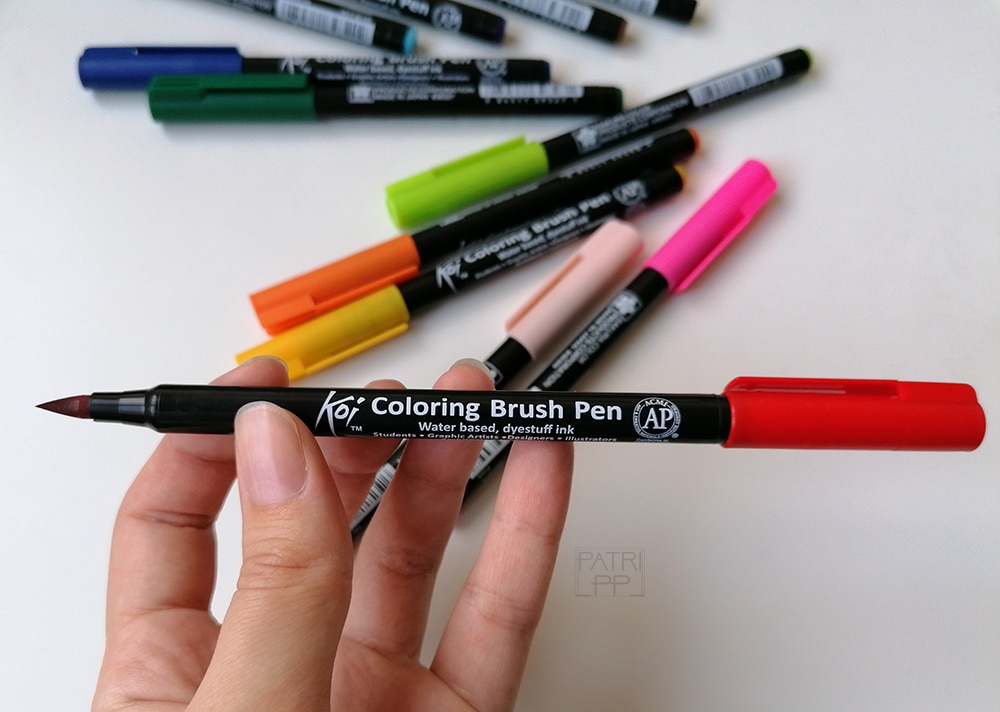
It looked promising!
So, it was time to actually try and illustrate something with them.
- Side note: I believe these water brush markers could be cool as well to do some coloured lineart, as you can get some nice variations of thickness with the tip!
Illustrating with the 12-Set:
When working with this I did find some pros & cons. Definitely, the fact that it’s a small set has something to do with it, as it limited me a bit.
Nothing I couldn’t work with tho!
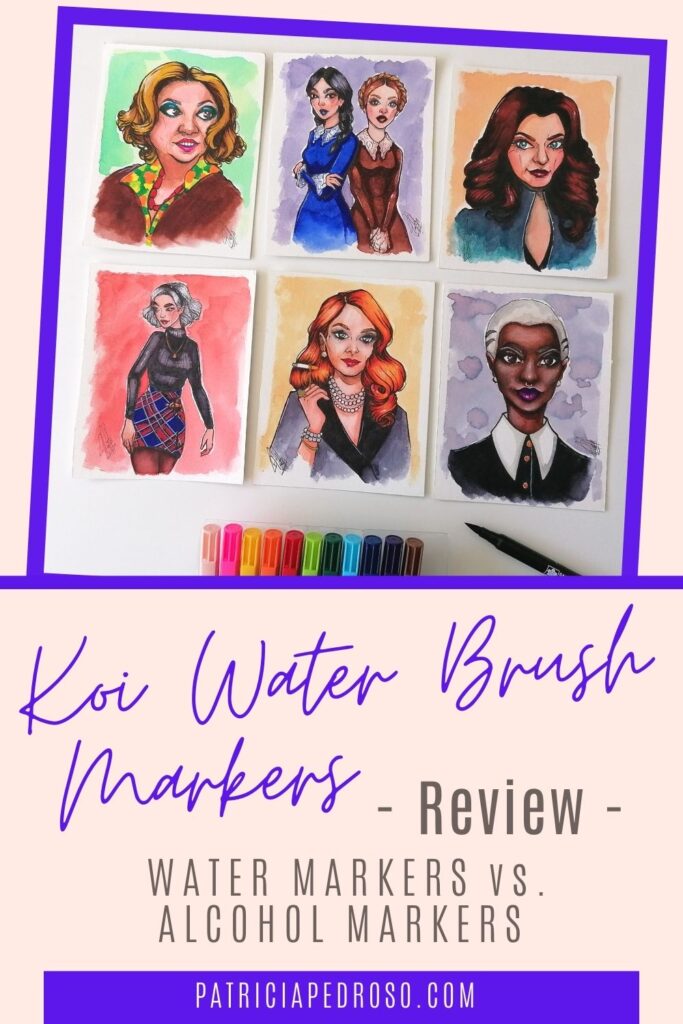
So, here’s the set of mini-illustrations I did to test these water brush markers (not too bad, if I say so myself):
By the way, this was my tribute to The Chilling Adventures of Sabrina (so sad it ended) that I drew as I re-watched the first few seasons to get ready for that last one. These mini-illustrations are up for sale in my shop now, alone or in a pack with more Sabrina merch!
So, I managed pretty well but I had to get some tricks up my sleeve. I recorded the process and it’s gonna be up on YouTube very soon so you can get a better look at that.
It was definitely hard to get a variety of tones with just 12 colours. The vibrancy of them doesn’t make it easier, cause as soon as you layer a bit it just keeps getting darker.
I had to resource to watercolour them – which at first I was only gonna do for extra cool “watercolour”-effects.
And gotta say it, boy, did it work!
I mixed them on a watercolour mixing tray and created the colours and then I applied them with a brush, just like you would with watercolours, really.
With this, I controlled not only the colours better but also lowered the vibrancy when I didn’t need it.
Would you be able to tell by the result that those drawings were done only with 12 markers?
What did I learn about these water brush markers with this experience?
Well, basically that they are very versatile.
- You can apply them as common markers.
- Or by watercolouring them on a tray, and apply them with a brush. – Plus, you get near-infinite colour possibilities!
- You can layer a colour and then work on top with watercoloured colours to shade & add details.
- After applying a few marker flat layers, you can also watercolour them to mix & soften and lift/erase the colour like you would with watercolours.
- Mix and match varied techniques! Like easily creating gradients with some water.
Basically, if you know some basic watercolour techniques, (read this article if you want a refresher) you can easily experiment with using these markers in original ways!
And you’ll be able to get much more out of them.
Also, you can grab your watercolour set and use it together. I just tested it quickly but it seemed to work just fine as well!
I must say, at first my experience wasn’t so awesome as it might sound here, it took me a while to figure them out.
There are definitely some do’s and don’ts when you try to achieve certain things and of course, some limitations. For example, if you look closely at poor’s Prudence’s skin tone it’s not that good-looking – sowwy.
Archiving believable & beautiful black skin tones has always been a bit challenging with the normal colour sets and if you’re not careful you can mess it up really quickly.
In my case, I fixed her a bit with colour pencils but the original result was a bit messy. It was one of my last paintings of the set and as I was growing a bit more confident I stopped being so careful as I was in the beginning… I was also a bit tired, so I messed up.
Pros & Cons of these markers
As always, I like to sum up in a list my thoughts about the things I review so it’s easy & quick to read if you just want a quick run-through.
Now here I’m just talking about these markers but next, I’m also gonna compare this pros/cons with alcohol markers as well, in case you’ve never used any and you’re in doubt.
Let’s start with those positives!
- Very vibrant colours. – can be a con if you’re not into such bright colours.
- No bleed! (I tried different papers)
- The tip is really nice & comfortable.
- Relatively easy to blend.
- The ability to watercolour it gives it a lot of versatility to the set colour & technique-wise – maybe especially the small ones.
- Odourless!
- The black has a lovely bluish-kind of purplish undertone that’s really lovely when you watercolour it!
- Good to use as coloured brush pens for lineart as well.
- Watercolouring them is also a good way to blend them.
- You can mix them in a watercolour mixing tray to create many more colours!
- Feels like they are a bit more flexible to your choice of paper.
Cons
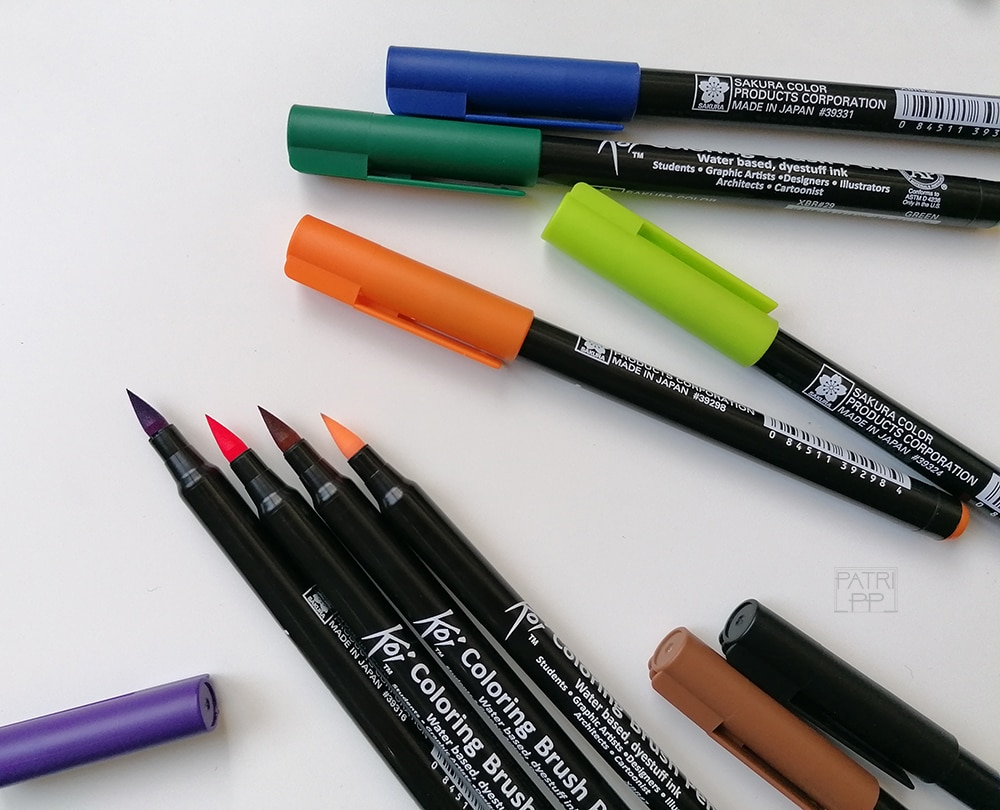
- Some of the colours don’t match at all the name & colour of the cap, but this last part is very common with markers & such tho – In this case, some are exaggerated, like for example Red it’s like a Burnt Siena (more like a brown)
- The colours included can be a bit limiting for certain illustrations.
- The vibrancy of the colours fades a bit when you watercolour them (this can be a pro if you’re actually looking for that, but it’s good knowing it so you can use it to your advantage)
- This 12 set feels a bit lacking in the range of colours (to be expected in a small set). For example, there’s no red, because as I said, the “red” it includes is actually brown.
- I have a feeling the tip might wear down with use, at least a bit. – this is just my impression, I might be wrong!
- This is not a con, exactly, just a warning, the colours change a bit when they dry (again, to be expected). I noticed this especially when you watercolour them, not as much when you use them just as markers.
Differences with Alcohol Markers:
So, from someone who has used both, let me tell you a few thoughts and differences.
First let’s just talk about them as markers, no watercolouring involved.
At first glance and use, they seemed similar enough.
You’ll notice the few things I’d mention, water brush markers won’t smell or bleed, aren’t as picky with the paper. Alcohol markers work with a bunch of different papers but are harder to manage if the paper is not for markers. – Some even to the point of impossible to use…
Probably just by themselves (no watercolouring) they are a bit harder to blend. Or maybe that’s the feeling I got.
The price is definitely a pro. Sakura is a good brand and the price per marker is not that high, however Copics… And their second most known alternative, Promarkers, are a bit cheaper, yes, but still more expensive than these.
And these don’t lighten after drying like alcohol markers. – well, when they’re watercoloured they do change a bit, especially losing some vibrancy, but that’s to be expected cause they dilute.
Now, let’s add the watercolouring ability…
For me, the biggest pro of the water brush markers is their versatility with the watercolouring. You can use them in so many different ways thanks to that!
I do have seen people working with traditional Alcohol markers by “watercolouring them” in a tray with alcohol (I believe it was alcohol, but don’t quote me on that). However, it seemed a bit messy, – from what I saw – definitely not as practical as grabbing a water-container brush or a jar of water. Plus, if you’re picky with the alcohol smell that would give you a headache.
I don’t know about other brands, but the Koi sets don’t seem to be huge, so maybe you can say the colour range it’s more limited than let’s say Copics.
However, as you can always blend & watercolour this is not exactly a con.
I would like to test with time which one seems to last more. But I don’t use markers as much anymore to be able to compare. Logically, I would think water brush markers last longer, because as you can mix with their “watercolourable” use, this will use less ink, but I’m not sure.
I seem to remember my few Copics & some of my Promarkers (most Promarkers seem to last more, though) dying really fast in a period I used them regularly.
However, I dug them out the other day and all of them worked pretty well…
If you’ve tried both and know the answer, do let us know in the comments!
That’s it!
I’ll have a video of my process testing these markers coming up really soon if you want to see me struggle to figure them out!
But this is all for now, I’ll update the article with any other discovery that I might make.
Feel free to leave any question, thought or simply a hello in the comments, it always makes me happy to hear from you!

