The one tip that will instantly improve your work
In this post, I’m gonna tell you all about one little trick I learned some time ago that definitely made a difference when it comes to finishing your pieces.
Textures!
With textures, you’ll render your work faster and give it a “pro” finished look.
The trick about textures in digital art is that you need to learn to use them just enough so it enhances your art but you don’t overuse them.
This is a common thing to do when you start using them, but don’t worry, I’m gonna give you tips to avoid it!
So here I’ll tell you all that I learned; give you resources to find them and tell you the ways to add texture to your work in digital art.
*Reminder that this post contains some affiliate links. This means I might get a small commission when you click and buy something with that link with no additional cost to you. However, my reviews and recommended products are not influenced by this, I’ll only recommend what I use and what I believe is good. Click here to read the disclaimer if you want more information*
INTRO
Before anything else, I thought I should mention that I have a youtube video on this that goes over the same things I will here.
Sometimes in videos I might forget to mention certain things that are better explained here, however, there’s somethings that are better shown than told, am I right?
Anyway, here it is in case you want to check it out:
WHERE TO GET TEXTURES FOR YOUR ART?
There’s a lot of places around the internet to get textures, however, you should be careful to use only those who give you an appropriate license for you to use them freely.
This is why, I would recomend that you start your own library with textures as soon as you can.
It’s really easy, you just have to take your own photos or scans of things you think might be interesting to use as textures for your work. Just the same, if you created a really cool pattern or texture for a piece, make sure you save it separately for that!
Some examples can be; watercolour effects, paper or canvas textures, folliage, …
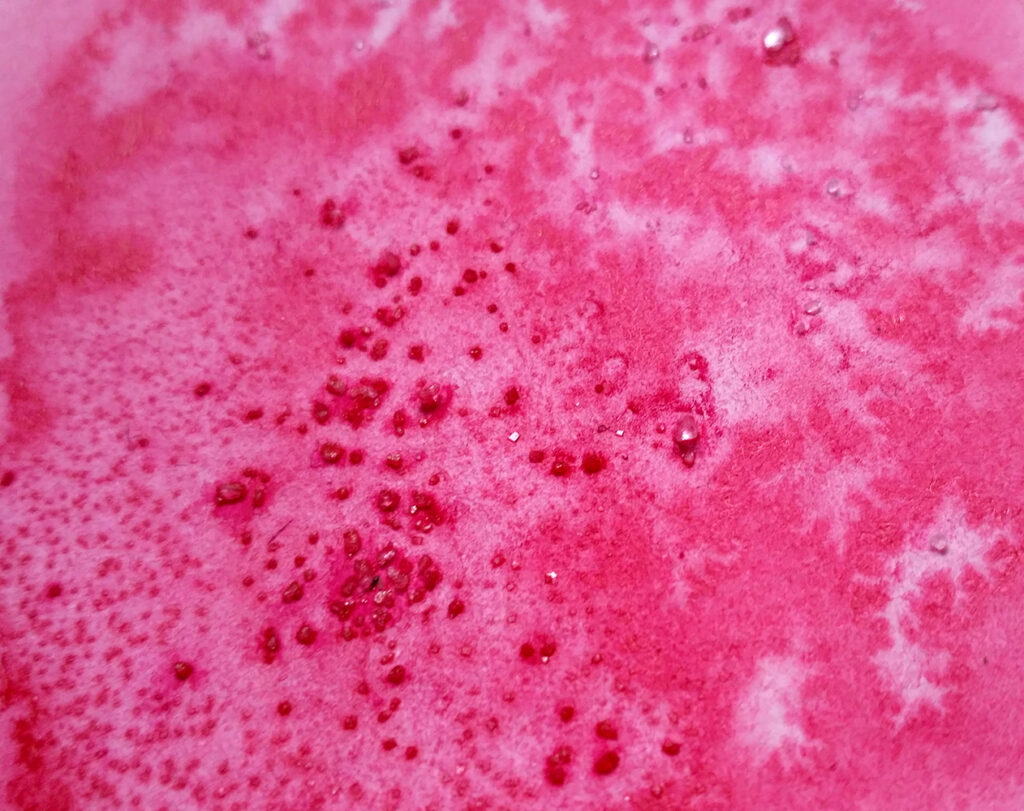
Having your own texture library – even if you don’t want to make your own textures yet – will keep them at hand and have them organised any time you need them.
Here’s a list of places you can get free textures from: (keep in mind to look for the license to use them)
There’s also places like Gumroad & Cubebrush that have texture packs and photo reference packs of patterns & such. At a very cheap price and sometimes even for free.
Here are a couple of cool packs I found with licenses: 64 Watercolour textures pack & kit with a pack of varied textures.
COMMON TEXTURES TO USE
Textures in digital art can be used in a lot of different ways. Some artists will use textures that draw attention while others prefer subtle ones.
However, there’s a few general ones that are always useful to have at hand:
Paper textures are always a good basic, cause they give your drawing more of a traditional feel. Think about all the variety; recycled paper, watercolour textured paper, a canvas surface,…
Wood & folliage are another good basic you might need down the line.
Clouds, night/day skies, stars & nebulas. You never know when it might come handy – For example, nebulas are really cool to create background & underwater textures!
Patterns; it’s always good to have a collection of patterns at hand for clothes and such, it will save you so much time.
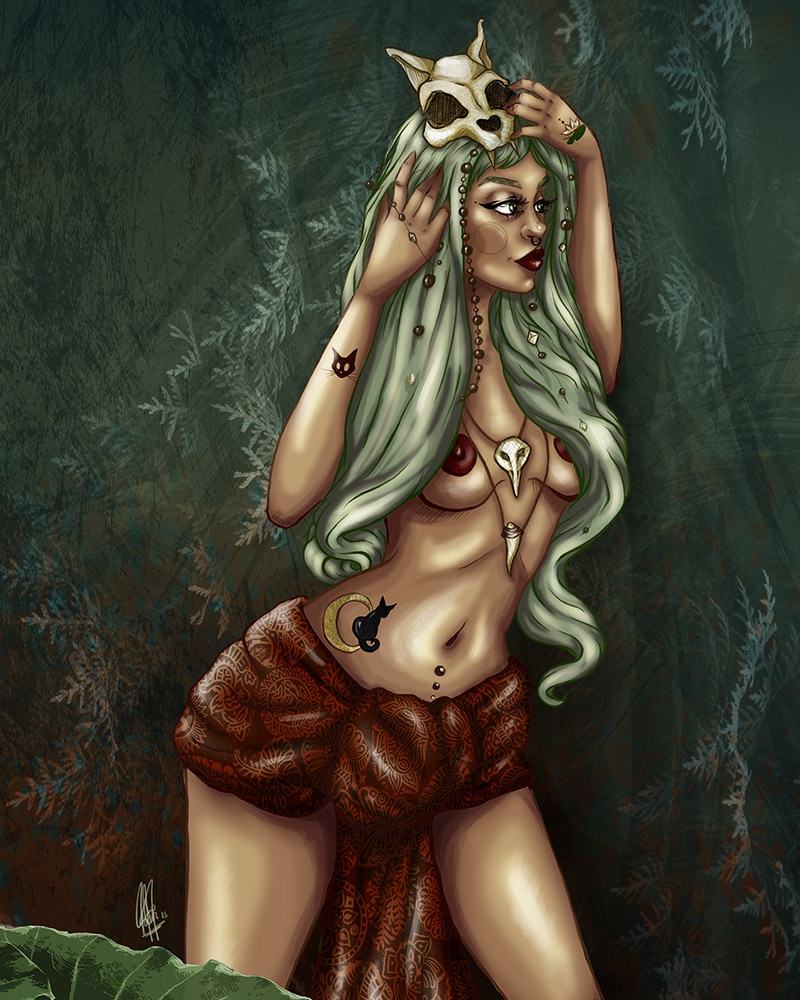
Sand and soil textures can be useful too for adding a grainy look, however, I don’t use them much.
Then there’s also personal preferences, for example, I love watercolour textures; splashes, the effects watercolour can do when mixing, etc.
There are examples of how I use these kinds of textures in my digital art in the video I talked before – will link it again here.
WHAT CAN YOU USE THEM FOR?
There’s a ton of ways to add textures in digital art. You can basically use them in anything!
Here are some examples of the most common uses:
– Areas like backgrounds.
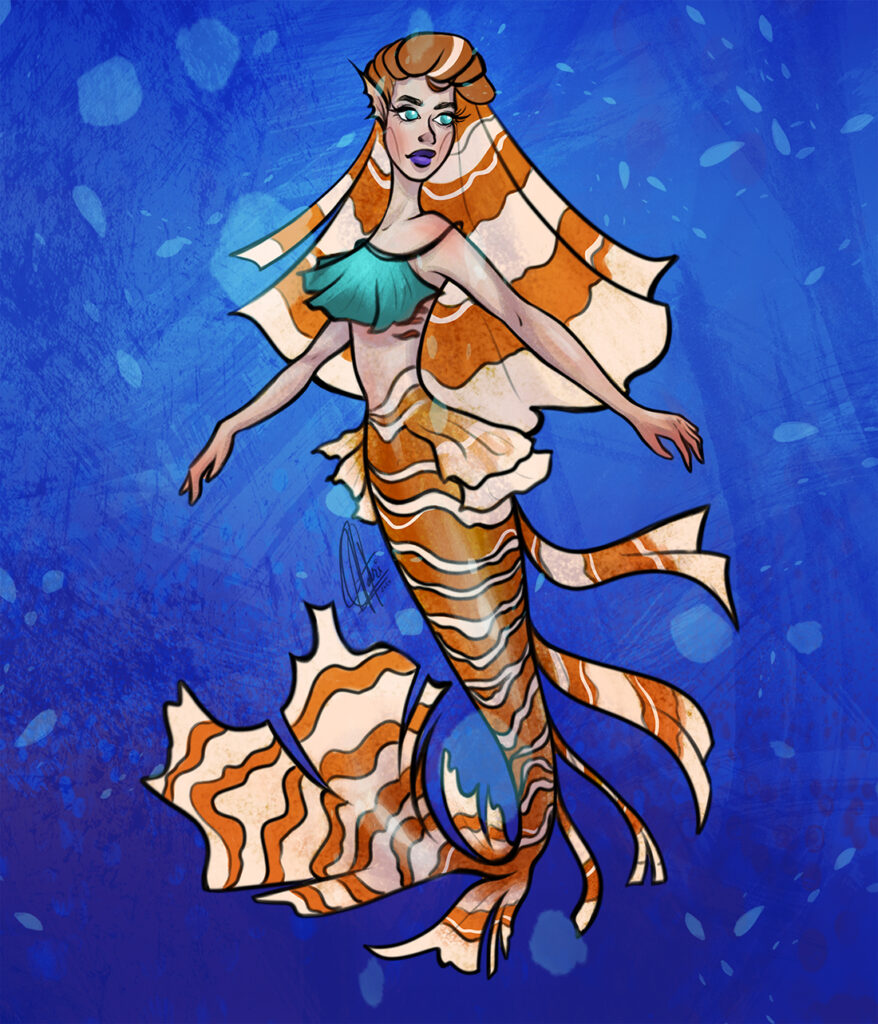
They are often used to give that extra touch to your backgrounds to make them less boring – with just a couple of simple steps.
Don’t be afraid to combine a couple, but try to keep them with low oppacity to avoid it being too much.
Here’s an example I did for this piece. I combined a couple of textures then added dappled light with a brush to create a nice underwater feeling. – Btw, you can get prints by clicking on it!
– Clothing textures or patters.
Just as I said before, it can save you a lot of work!
Sometimes it can be useful just to add that real texture feel to clothes.
– Patterns on other things.
There’s a bunch of stuff apart from clothes that could benefit from the use of textures, for example, wall textures!
Take advantage of the wrapping/perspective tool to make them fit in your work!
Think big, objects, small patterns, tiles, all can be done quickly by inserting a texture.
– Skin.
Some people use soft textures on the skin to give it a natural feeling, maybe even with some “dots” to pass as random freckles.
I personally don’t use it, as I think some brushes can create the same effect more to my taste. But give it a go if you think this might work for you!
– On the full drawing.
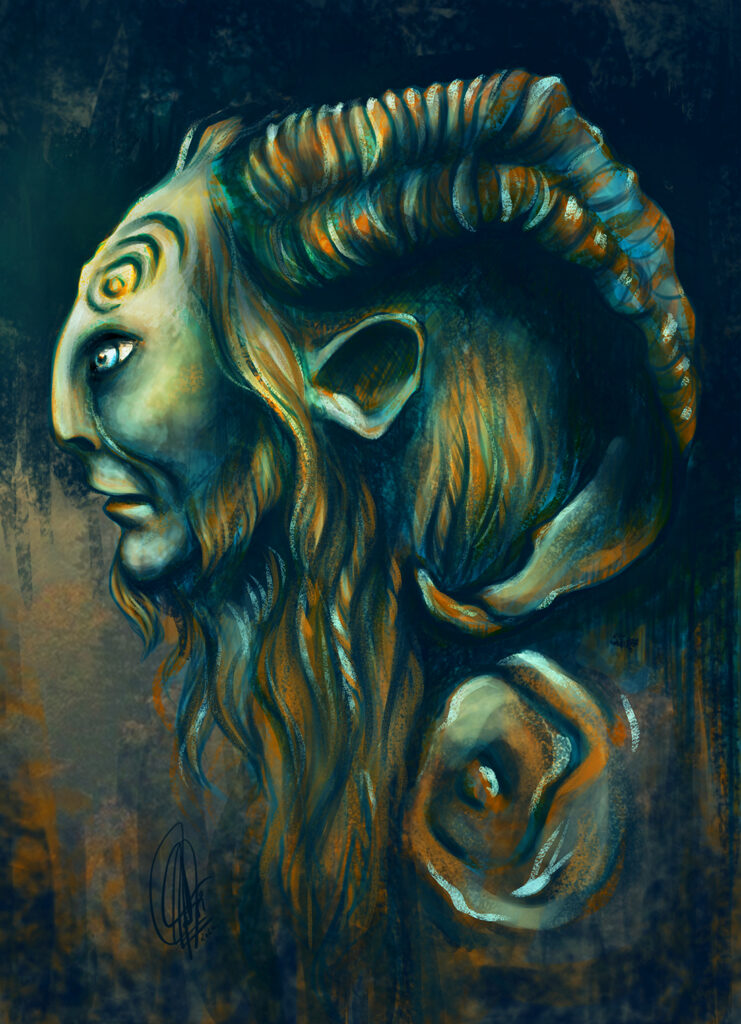
This is just as it sounds: to simply apply a texture over the full piece.
For example, this can be a canvas texture to avoid that full-on digital feeling on your painting.
Or to give it a base just as I did in this Pan’s Labirynth inspired piece. (Again, click for prints)
HOW TO USE TEXTURES IN DIGITAL ART
So I told you where to get your textures, what you can use them for but you still might be wondering…
How the hell do digital artists use textures in digital art?
Well, this is where I tell you.
There’s a couple of different ways depending on how you want to use them.
First, if you want to use it over the full drawing, just add them on a layer on top of everything else.
Make sure you rasterize the image (convert the image to pixels so you can edit it); right click on the layer -> rasterize layer.
Then – this step is the same on the next option – play with the opacity, usually, you don’t need it really high. And try different colour modes until you find what fits best with your drawing.
I will recommend you experiment with these colour modes, don’t get stuck with the same every time.
If you need to, play with the saturation, levels & even with the perspective tool till it fits as you want it.
However, if you plan to use it only over one area you’ll want to apply it over that layer that has that area coloured with a clipping mask (you can do this by right-clicking over the texture layer).
A clipping mask will basically be applied only on the area you have coloured in the layer you clipped it too, so you don’t have to cut or erase around it.
For certain things, you might want to cut it or erase around them anyway, like for example if you want to “dissolve” the texture edges.
Then you need to repeat the colour mode, opacity,… stuff I told you about before.
TIPS TO AVOID OVERUSING THEM
As a beginner artist or someone who’s just starting with textures, you’re bound to over-using them.
You might as well get it out of your system now.
Then, a while from now, you’ll cringe at those pieces and shove them deep down on your paintings folder. – I know I did.
Anyway, there’s a bit of advice that I can give you that will – hopefully – help you see when you might be overusing your textures in digital art.
Here we go:
1 – Never use them in full opacity. – I mean, who am I to tell you to “never use something”, right? – However, textures in full opacity will be a bit of overkill, hardly ever necessary.
2 – Put a limit to the number of textures you use in your drawings. This can be different for everyone, depending on how & where you’re using them. For me, a good rule of thumb is 4 per piece; if I surpass that I start analysing if I’m overdoing it.
3 – It’s easy to indulge in this in the beginning, give it some time. And some breathing room. Maybe you need to get those cringy paintings out of your system to learn how not to do it, be patient.
4 – If you feel like you went overboard, analyse if you can achieve the same effect easily in another way (like brushes). A good example of this are freckles, most of the times you can do them with a brush and it will even look more natural.
OTHER RESOURCES
That’s all I had to say about textures, though I still have a couple of resources that might be useful to you after reading this post.
For starters, if you’re still starting with digital art and all of this seemed like a bit much for you right now, here are two posts that might help out:
- 13 basic colouring tips that will instantly improve your art.
- 7 beginner tips to improve your digital linework.
- Krita vs Photoshop – reviewing Krita, the free Photoshop alternative.
And this skillshare course goes over a few of these things really well, as well as teaching you some basics to start working with Photoshop: Photoshop Demystified: A Beginner’s Guide to Digital Painting
And a little extra video on textures in digital art by the Disney artist Laura Prince:

